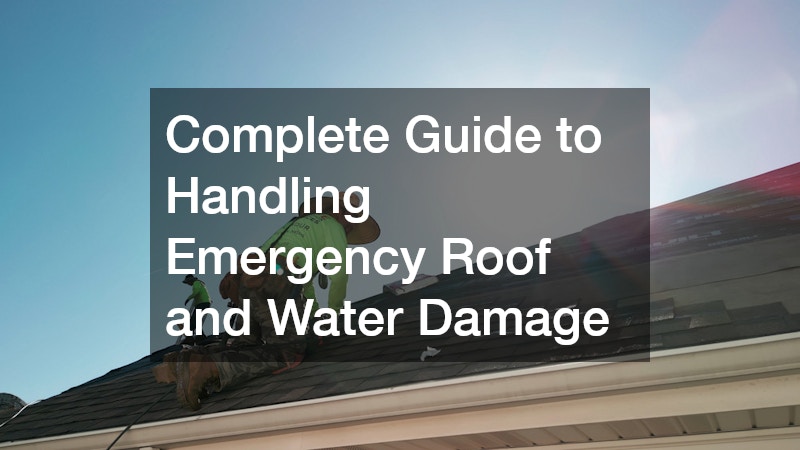
There are few sound effects more unsettling to a homeowner than the steady, rhythmic dripping of water from a ceiling during a severe thunderstorm. Whether caused by gale-force winds tearing away shingles, a fallen tree branch breaching the roof deck, or a severe hail storm compromising flashings, emergency roof leaks demand immediate, structured action. When water penetrates your home’s exterior envelope, every passing minute increases the potential for structural rot, ruined personal property, and hazardous indoor mold growth.
Navigating a home disaster requires a calm, methodical response during an inherently stressful moment. The first 24 to 48 hours following a roof breach are crucial. Decisions made during this narrow window determine not only how much damage your home sustains, but also how smoothly your insurance claim progresses and how completely your living space is restored.
This comprehensive guide provides an actionable roadmap for handling emergency roof leaks and interior water intrusion. By following these clear steps—from securing electrical safety and containing active drips to navigating professional extraction, structural drying, and permanent insurance repairs—you can protect your property and guide your household through a crisis safely.
Prioritize Safety and Contain Immediate Interior Damage
Secure the Area, Divert Water, and Prevent Structural Hazards
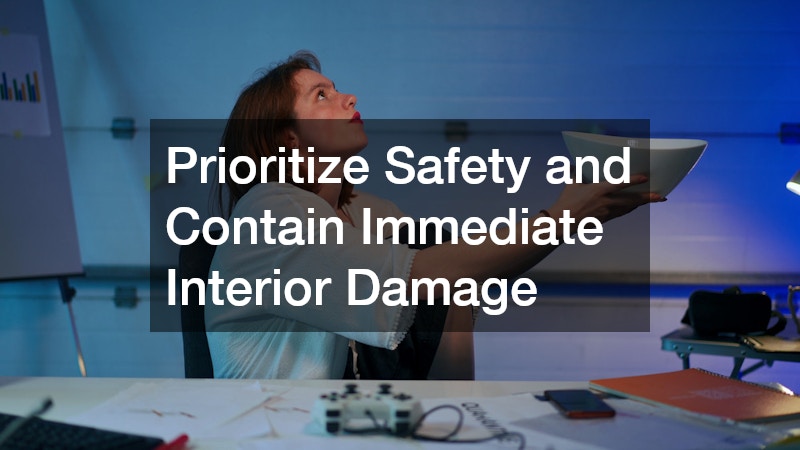
When water actively enters your living space, your initial instinct may be to rush toward the leak to protect your personal belongings. However, personal safety must always take priority over property preservation. Water migrating through ceilings and interior wall cavities often comes into contact with electrical wiring, light fixtures, and junction boxes, creating severe shock and fire hazards.
Before attempting to contain active drips, assess the immediate physical environment carefully:
- Shut off power to affected zones: If water is pooling around light fixtures, running down switch plates, or dripping onto power outlets, go immediately to your main breaker panel and shut off electricity to those specific circuits.
- Avoid sagging ceiling drywall: Bulging, discolored drywall indicates that water is pooling on top of the ceiling structure. Heavy, saturated drywall can collapse without warning, causing injury or spreading gallons of trapped water across the room.
- Relieve water weight safely: Place a heavy-duty bucket under the lowest point of a sagging ceiling bulge. Stand to the side and carefully poke a small, clean hole in the center of the bulge using a screwdriver or utility knife to allow trapped water to drain controlledly into the bucket.
- Protect valuable furnishings: Clear the immediate area of electronics, area rugs, furniture, and family heirlooms. Cover immovable furniture with thick plastic sheeting or tarps to prevent secondary water splatter damage.
Containing water at the floor level prevents liquid from soaking deep into hardwood subfloors or migrating beneath wall baseboards. Lay down thick towels or absorbent blankets around collection buckets to catch splash back, and use shop vacuums to pick up standing water from tile or concrete surfaces immediately.
Inspect Exterior Roof Damage and Execute Temporary Shielding
Identify Exterior Vulnerabilities and Secure Temporary Tarping Safely
Once interior water drips are under control, turn your attention to the source of the leak. Assessing exterior damage during or immediately after a severe storm requires extreme caution. Wet roofs, loose shingles, and high winds make climbing onto a roof deck exceptionally dangerous. Never attempt to walk on a damaged, wet, or steep roof structure during an active weather event.
Instead, conduct a preliminary exterior inspection safely from ground level using binoculars or a smartphone camera with a telephoto zoom:
- Scan for missing or displaced surface materials: Look for bare patches where shingles have blown away, exposed underlayment, or shifted metal panels along roof hips and ridges.
- Inspect roof valleys and flashing joints: Check around chimneys, skylights, plumbing vents, and roof valleys. Damaged, bent, or lifted flashing is a primary entry point for wind-driven rain.
- Check for impact marks and debris: Look for fallen tree limbs resting on the roofline, dented gutters, or localized impact patches caused by heavy hail.
If large sections of underlayment are exposed, securing a temporary weather barrier is critical to prevent further water intrusion while waiting for permanent repairs. Hiring a qualified roofer to assess the damage ensures that high-grade woven tarps are properly weighted, fastened, and sealed over damaged areas using wooden battens rather than simple nails that can punch new holes in your deck.
Different roofing materials react uniquely to storm conditions. While traditional asphalt shingles may crack or blow off in high winds, a modern metal roof system offers superior resistance to wind-driven rain and severe impacts. However, even metal paneling requires professional inspection following extreme weather to verify that seam sealants, rubber washer fasteners, and flashing connections remain fully watertight.
Document Loss and Navigate the Insurance Claim Process

Build an Irrefutable Inventory and Coordinate with Adjusters
Proper documentation is the foundation of a successful property insurance claim. Insurance companies require clear proof of the extent of damage, the precise cause of loss, and a detailed record of emergency mitigation steps taken to prevent further destruction. Starting your documentation process immediately prevents disputes later during the claims settlement phase.
Before clearing away debris or discarding ruined items, build a thorough digital record of the loss:
- Capture wide and detailed visual evidence: Take clear, well-lit photos and videos of the exterior roof damage, sagging ceilings, water-stained walls, saturated flooring, and ruined personal property. Include close-up shots as well as wide room angles.
- Catalog ruined personal property: Create a line-item inventory of damaged items, noting brand names, model numbers, approximate purchase dates, and replacement values. Do not throw away expensive electronics or furniture until an insurance adjuster has inspected them.
- Save all emergency expenses: Keep physical and digital copies of every receipt related to the emergency. This includes purchases for tarps, buckets, utility knives, shop vacuum rentals, and hotel stays if your home is temporarily uninhabitable.
- Log all communication: Maintain a dedicated notebook or digital file recording the dates, times, representative names, and summary notes for every phone call or email with your insurance company and service providers.
Filing your claim promptly allows your insurance provider to assign an adjuster quickly. To ensure your interests are represented accurately during the damage assessment, consider partnering with a certified roofing contractor who can meet the insurance adjuster on-site. A knowledgeable professional can walk the roof deck alongside the adjuster, pointing out subtle storm impacts, hidden flashing failures, and structural deck damage that might otherwise be overlooked in a brief inspection, ensuring your claim estimate covers full, high-quality roof repair.
Execute Professional Interior Water Extraction and Structural Drying

Mitigate Microbial Threats and Extract Hidden Moisture from Wall Cavities
While fixing the roof stops new water from entering, dealing with the water already inside your home is a race against time. Saturated building materials—such as drywall, carpet padding, insulation, and wooden wall studs—create an ideal environment for toxic mold spores to germinate. Mold can begin growing behind walls and underneath flooring in as little as 24 to 48 hours following water exposure.
Thorough structural drying goes far beyond soaking up standing water with towels or placing a household desk fan in the center of a room. Water naturally travels along structural framing, seeping deep into subfloors and migrating up wall cavities through capillary action.
Professional mitigation relies on specialized equipment and scientific drying protocols to salvage structural materials:
- Comprehensive moisture mapping: Technicians use non-invasive moisture meters and thermal imaging cameras to track the exact path of water migration inside walls and under floors without tearing down sound drywall unnecessarily.
- High-capacity water extraction: Commercial truck-mounted or heavy-duty portable extraction units pull gallons of trapped water from carpets, pads, and concrete subfloors far more effectively than consumer equipment.
- Controlled material removal: Wet baseboards are removed, and small ventilation holes are drilled near the floor line to allow air to circulate freely inside wet wall cavities. Saturated fiberglass insulation, which loses its insulating value when wet, must be cut out and disposed of.
- Industrial dehumidification and air movement: Certified water damage restoration crews deploy commercial low-grain refrigerant (LGR) dehumidifiers and high-velocity air movers to draw bound moisture out of structural framing studs and subfloors.
Partnering with certified local water damage cleaning services ensures that all affected surfaces are thoroughly sanitized with EPA-registered antimicrobials, eliminating bacteria, odor-causing organisms, and active mold spores before reconstruction begins.
Prevent Secondary Water Damage and Attic Vulnerabilities
Safeguard Insulation, Ventilation Systems, and Structural Framing Members
While immediate living areas draw the most attention during a crisis, secondary water migration into attics and structural framing presents long-term hazards that often go unnoticed until major structural defects appear. Water trickling down a rafters system rarely stops at the ceiling drywall; it frequently saturates ceiling joists, wooden truss plates, and bulk attic insulation. Understanding how water interacts with these hidden spaces is essential to preserving the structural integrity of your home.
When water enters an unconditioned attic space, loose-fill cellulose or fiberglass insulation acts like a giant sponge, holding moisture directly against wooden framing members for weeks. This continuous moisture contact accelerates wood rot, weakens structural fasteners, and creates an isolated breeding ground for wood-decaying fungi that can compromise your roof’s load-bearing capacity.
Addressing secondary attic and structural vulnerabilities requires targeted preventative strategies:
- Pull back wet attic insulation immediately: Wearing protective masks and gloves, rake or remove saturated insulation away from ceiling joists to allow wooden framing members to air dry completely.
- Check bathroom and kitchen exhaust vents: Ensure roof penetrations for exhaust fans have not shifted, allowing water to drain back down the ductwork and pool inside fan housings or electrical connections.
- Inspect structural metal connectors: Examine hurricane ties, truss plates, and joist hangers for early signs of surface rust or corrosion caused by trapped water exposure.
- Monitor attic humidity levels: Use a digital hygrometer to ensure attic relative humidity drops back below 50 percent following emergency roof repairs, preventing condensation cycles on the underside of unheated roof sheathing.
Addressing these hidden moisture pockets promptly prevents secondary sagging in ceiling structures and eliminates the risk of silent structural decay that could otherwise force expensive framing overhauls years down the road.
Rebuild, Restore, and Upgrade Your Home’s Envelope
Select Licensed Specialists to Rebuild Roofs and Interior Spaces
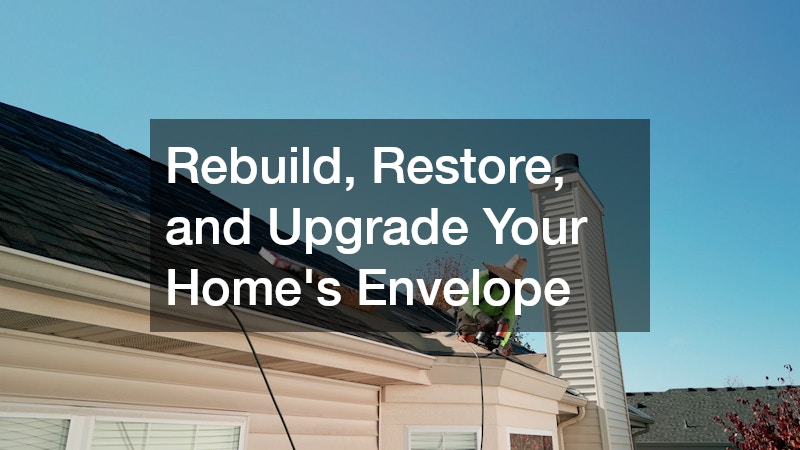
Once the home is completely dry and cleared of unsalvageable materials, the focus shifts from emergency mitigation to long-term reconstruction. This phase involves repairing or replacing the damaged roof sections, hanging fresh drywall, painting, and installing new flooring. Rebuilding gives you an opportunity not only to restore your home to its pre-loss condition, but also to upgrade vulnerable building materials to better withstand future weather events.
Managing reconstruction efficiently requires coordinating both exterior envelope work and interior finish trades:
- Upgrade underlayment protection: When replacing roof sections, request high-performance synthetic underlayments and self-adhering ice and water shields along eaves, valleys, and flashing points to create a secondary waterproof barrier.
- Ensure proper roof ventilation: Verify that intake soffit vents and exhaust ridge vents are clear and properly balanced. Adequate attic ventilation prevents heat buildup that can age shingles prematurely and reduces moisture condensation in winter.
- Select impact-resistant materials: Consider upgrading to Class 4 impact-resistant shingles or metal roofing components, which may qualify your home for annual insurance premium discounts.
- Verify contractor credentials: Always verify that reconstruction specialists carry full general liability insurance, active workers’ compensation coverage, and valid state trade licenses before signing contracts.
For seamless project management, hire a reputable restoration company capable of overseeing both the structural drying process and the subsequent interior rebuilding. Selecting an established damage restoration company ensures that your interior contractors coordinate closely with trusted teams performing local roof repairs. Coordinating these critical trades under unified project management guarantees that high-quality roofing services seal the building envelope tightly before new drywall, trim, and flooring are installed, preventing new finish materials from sustaining unexpected weather damage.
Conclusion
Facing sudden roof damage and water intrusion can feel overwhelming, but taking swift, organized action transforms a chaotic emergency into a manageable recovery process. By prioritizing household electrical safety, containing indoor drips quickly, and securing temporary roof tarps, you prevent minor water intrusion from spiraling into massive structural failure.
Remember that thorough recovery extends beyond visible cleanup. Documenting your property loss meticulously protects your financial claims, while professional structural drying safeguards your indoor air quality and protects your health from hidden mold growth. By partnering with certified local trade specialists to execute durable repairs and upgrade your home’s protective envelope, you restore your living space to a safe, comfortable, and resilient haven built to withstand whatever weather the future brings.
